【Oracle】Oracle Linux 6.2にASM構成のOracle11gR2をGrid InfrastructureとかOUIとか用いてインストール
散々苦労してOracle Linux 6.2にOracle 11gR2が入れられたので備忘にメモ。
Oracle Linux 6.2のインストールについては前回の記事をご参考ください。
【Oracle】Oracle Enterprise Linux 6.2をインストールしてみた。言語は英語!
ちなみに英語でインストールした理由としては、後々文字化けとかが面倒くさいのと、
ホームディレクトリのコンテンツが日本語で表示されるのが気に食わない(使わないけど)
ので、英語でいれてます。
詳細は↓へ
環境
今回の入れる構成として、VM環境で以下の環境で準備した。
メモリ:1280M(1G以上ないとダメって途中で怒られるんだもん・・・)
CPU:1個
HDD:40G(20Gでもはいらなくないかもしれないがまぁインストーラーとかもってくと結構きつきつになるので余裕をもって40G)
HDDその2:40G(ASM用に別途HDDを接続)
OS:Oracle Enterprise Linux 6.2 (言語は前述の理由のためEnglish)
この度の記事は以下のサイト様を参考にインストールしております。
感謝感謝。
仕込み
Oracle アカウント登録
gridをインストールするユーザとOracle自体をインストールするユーザーの準備をする。
asmをdbaグループに入れておかないとsrvctlが失敗するらしい。
# groupadd -g 1001 oinstall
# groupadd -g 1002 dba
# groupadd -g 1003 oper
# groupadd -g 1004 asmadmin
# groupadd -g 1005 asmoper
# groupadd -g 1006 asmdba # useradd -u 1001 -g oinstall -G asmdba,dba oracle
# useradd -u 1002 -g oinstall -G asmadmin,asmoper,asmdba,dba grid
Kernelパラメータ登録
Oracleが出してるOSにもかかわらず、この調整はやっとかないとあとで設定しとけやと怒られるので、
いまのうちにやってしまいます。
# vi /etc/sysctl.conf
=> 以下パラメータを登録
kernel.shmmni = 4096
kernel.sem = 250 32000 100 128
net.ipv4.ip_local_port_range = 9000 65500
fs.file-max = 6815744
net.core.rmem_default = 262144
net.core.rmem_max = 4194304
net.core.wmem_default = 262144
net.core.wmem_max = 1048576
fs.aio-max-nr = 1048576
# sysctl -p
=> 設定を反映する
ulimit設定
ulimitの許可もしとかないとインストール途中でこける
# vi /etc/security/limits.conf
以下の行を追加
@oinstall soft nproc 2047
@oinstall hard nproc 16384
@oinstall soft nofile 1024
@oinstall hard nofile 65536
# vi /etc/pam.d/login
以下の行を追加
session required pam_limits.so
アカウント環境変数
oracleアカウントとgridアカウントの環境変数を設定します。
$ vi ~/.bash_profile
ORACLE_BASE=/opt/oracle/app
export ORACLE_BASE
ulimit -u 16384 -n 65536
umask 022
ディレクトリの作成
Oracle/grid infra structureは今回/opt/oracle配下にインストールする。
しかし、OFA的には/u01/app/oracleのほうがいいかもしれないが。
# mkdir /opt/oracle
# chown oracle:oinstall /opt/oracle
# chmod 775 /opt/oracle
raw deviceの仕込み
追加したディスクをraw deviceとして使うための下準備をする。
まず、ルートになって追加したディスクのデバイス名を確認する。
# fdisk -l
Disk /dev/sda: 42.9 GB, 42949672960 bytes
255 heads, 63 sectors/track, 5221 cylinders
Units = cylinders of 16065 * 512 = 8225280 bytes
Sector size (logical/physical): 512 bytes / 512 bytes
I/O size (minimum/optimal): 512 bytes / 512 bytes
Disk identifier: 0x000398e1
Device Boot Start End Blocks Id System
/dev/sda1 * 1 64 512000 83 Linux
Partition 1 does not end on cylinder boundary.
/dev/sda2 64 5222 41430016 8e Linux LVM
.
.
Disk /dev/sdb: 42.9 GB, 42949672960 bytes
255 heads, 63 sectors/track, 5221 cylinders
Units = cylinders of 16065 * 512 = 8225280 bytes
Sector size (logical/physical): 512 bytes / 512 bytes
I/O size (minimum/optimal): 512 bytes / 512 bytes
Disk identifier: 0xab8ffb18
/dev/sdbが追加したHDDなので、/dev/sdbにfdiskで器を準備します。
わかんなかったらmでhelpがみれます。
# fdisk /dev/sdb
Device contains neither a valid DOS partition table, nor Sun, SGI or OSF disklabel
Building a new DOS disklabel with disk identifier 0xad866741.
Changes will remain in memory only, until you decide to write them.
After that, of course, the previous content won’t be recoverable.
Warning: invalid flag 0x0000 of partition table 4 will be corrected by w(rite)
WARNING: DOS-compatible mode is deprecated. It’s strongly recommended to
switch off the mode (command ‘c’) and change display units to
sectors (command ‘u’).
Command (m for help): p <- pを選択 Disk /dev/sdb: 42.9 GB, 42949672960 bytes 255 heads, 63 sectors/track, 5221 cylinders Units = cylinders of 16065 * 512 = 8225280 bytes Sector size (logical/physical): 512 bytes / 512 bytes I/O size (minimum/optimal): 512 bytes / 512 bytes Disk identifier: 0xad866741 Device Boot Start End Blocks Id System Command (m for help): n <- nを選択して新しいパーティションを区切る Command action e extended p primary partition (1-4) Invalid partition number for type `1' Command action e extended p primary partition (1-4) Partition number (1-4): 1 <- 1番目から書き込んできます First cylinder (1-5221, default 1): 1 <- いっちゃんはじめの1から Last cylinder, +cylinders or +size{K,M,G} (1-5221, default 5221): 2048 <- とりあえずだいたい半分くらいでぶったぎる Command (m for help): n <- 再度新しいパーティションを区切る Command action e extended p primary partition (1-4) Partition number (1-4): 2 <- 2番目のパーティション First cylinder (2049-5221, default 2049): <- そのまんまEnterを押してデフォルト通り、2049の位置からぶった切る Using default value 2049 Last cylinder, +cylinders or +size{K,M,G} (2049-5221, default 5221): <ーそのままEnter通りおして最後の位置までぶった切る Using default value 5221 Command (m for help): p <- pを押して確認する Disk /dev/sdb: 42.9 GB, 42949672960 bytes 255 heads, 63 sectors/track, 5221 cylinders Units = cylinders of 16065 * 512 = 8225280 bytes Sector size (logical/physical): 512 bytes / 512 bytes I/O size (minimum/optimal): 512 bytes / 512 bytes Disk identifier: 0xad866741 Device Boot Start End Blocks Id System /dev/sdb1 1 2048 16450528+ 83 Linux /dev/sdb2 2049 5221 25487122+ 83 Linux Command (m for help): w <- 問題なければwを押して書きこみ開始 The partition table has been altered! Calling ioctl() to re-read partition table. Syncing disks.
・次にudev使ってraw deviceを登録する
vi /etc/udev/rules.d/60-raw.rules
ACTION==”add”,KERNEL==”sdb1″,RUN+=”/bin/raw /dev/raw/raw1 %N”
ACTION==”add”,KERNEL==”sdb2″,RUN+=”/bin/raw /dev/raw/raw2 %N”
KERNEL==”raw1″,OWNER=”grid”,GROUP=”oinstall”,MODE=”0660″
KERNEL==”raw2″,OWNER=”grid”,GROUP=”oinstall”,MODE=”0660″
・再起動後、RAWデバイスへのマッピングが正常に行われているか確認する
# raw -qa
/dev/raw/raw1: bound to major 8, minor 17
/dev/raw/raw2: bound to major 8, minor 18
多分、できてる。うん。
必要パッケージの導入
OracleLinuxだったらきっといらないと・・・思ってた時期が僕にもありました。
oracleをインストールするときにがっつり入れろやとあとで怒られますので今のうちにいれます。
リポジトリをまずとってくる。
# cd /etc/yum.repos.d/
# wget http://public-yum.oracle.com/public-yum-ol6.repo
今回はoracle linux 6.2なので、ol6_u2_baseをenabled=1にする。
# vi public-yum-ol6.repo
[ol6_u2_base]
name=Oracle Linux 6 U2 – $basearch – base
baseurl=http://public-yum.oracle.com/repo/OracleLinux/OL6/2/base/$basearch/
gpgkey=http://public-yum.oracle.com/RPM-GPG-KEY-oracle-ol6
gpgcheck=1
enabled=1 <- ここ!
いよいよパッケージをいれる
yum install -y gcc;
yum install -y gcc-c++;
yum install -y compat-libstdc++-33;
yum install -y elfutils-libelf-devel;
yum install -y libaio-devel;
yum install -y sysstat;
yum install -y unixODBC unixODBC-deve;
yum install -y unixODBC-devel
yum install -y compat-db
# i686シリーズのインストール
yum install -y glibc.i686;
yum install -y libaio.i686;
yum install -y libaio-devel.i686;
yum install -y compat-libstdc++-33.i686;
yum install -y libgcc.i686;
yum install -y libstdc++.i686;
yum install -y unixODBC.i686;
yum install -y unixODBC-devel.i686;
i386もいれろと言われるが、i686いれてると以下のエラーで怒られて入らないのでスルーすることにする。
(ちなみにi386を入れる場合はhttp://public-yum.oracle.com/public-yum-el5.repoのリポジトリを使う。)
Error: Protected multilib versions: libaio-0.3.106-5.i386 != libaio-0.3.107-10.el6.x86_64
Error: Protected multilib versions: libaio-0.3.106-5.i386 != libaio-0.3.107-10.el6.i686
You could try using –skip-broken to work around the problem
You could try running: rpm -Va –nofiles –nodigest
Grid Infrastructureのインストール
いよいよGrid Infrastructureを入れる。oracleより先に入れないとダメ。
なお、以下の作業はgridユーザで実行すること。
$ unzip linux.x64_11gR2_grid.zip
$ cd grid
$ ./runInstaller
多分IPがlocalhostとかだとか設定すると以下のエラーが出るがYes

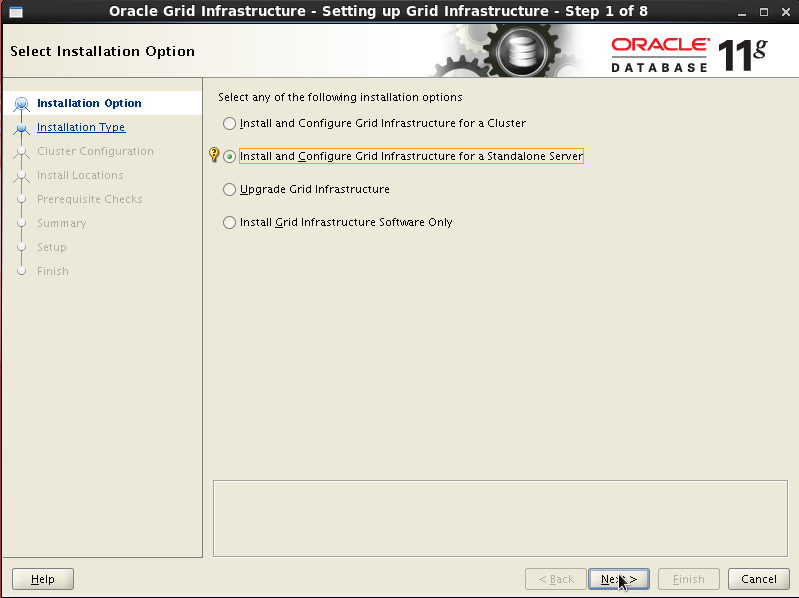
「Install and Configure Grid Infrastructure for a Standalone Server」を選択
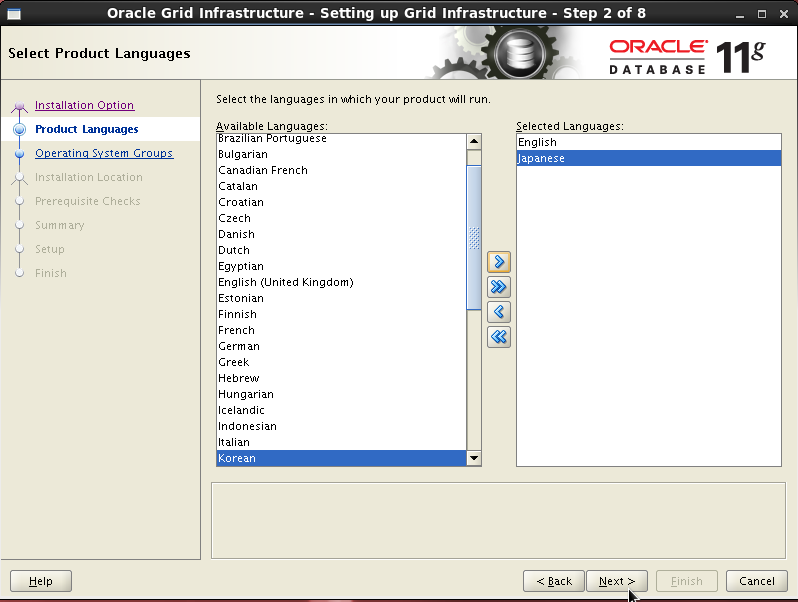
EnglishとJapaneseを入れておく。
日本語優先ならJapaneseを上にしておかないとだめなのかも。。
(画像だとEnglishが上だけどかえてね☆)
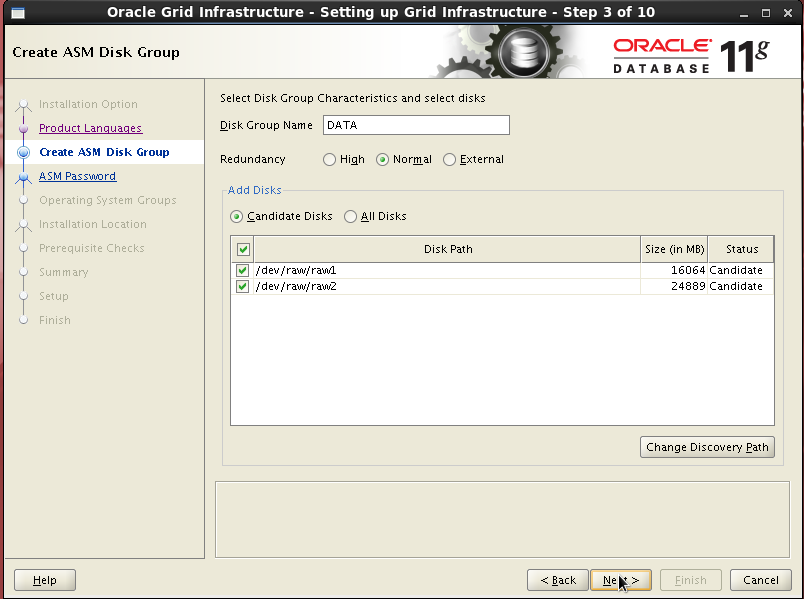
ASMディスク・グループを作成する。
Disk Group Nameに「DATA」と入力してディスク・グループ名を登録する。
Redundancy(冗長性)は「Normal」(ミラー)を選択。
そして仕込みで作ったraw1-raw2のrawデバイスディスクを選択して登録。
ASMインスタンス管理に必要なSYSユーザとASM監視用のASMSNMPユーザに対してパスワードを設定。
面倒くさいので「Use same passwords for these accounts」をチェックして2つとも同じパスワードにする。
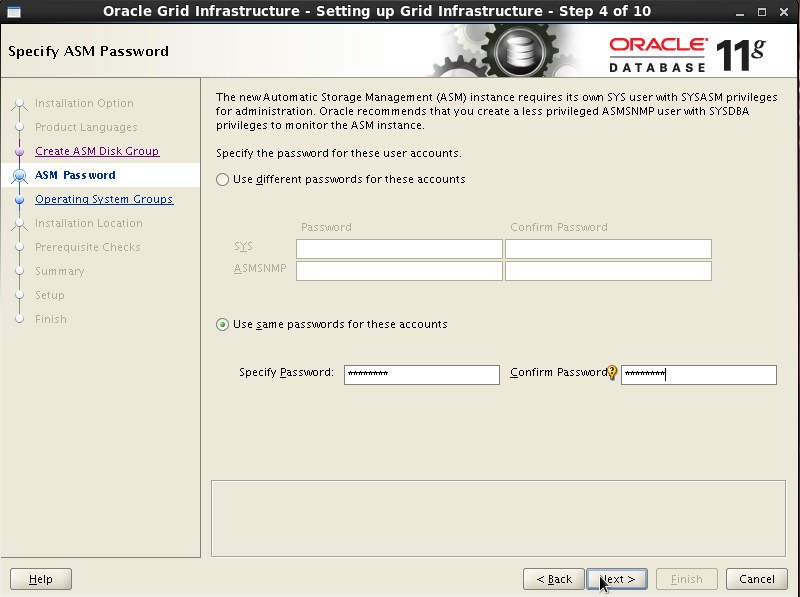
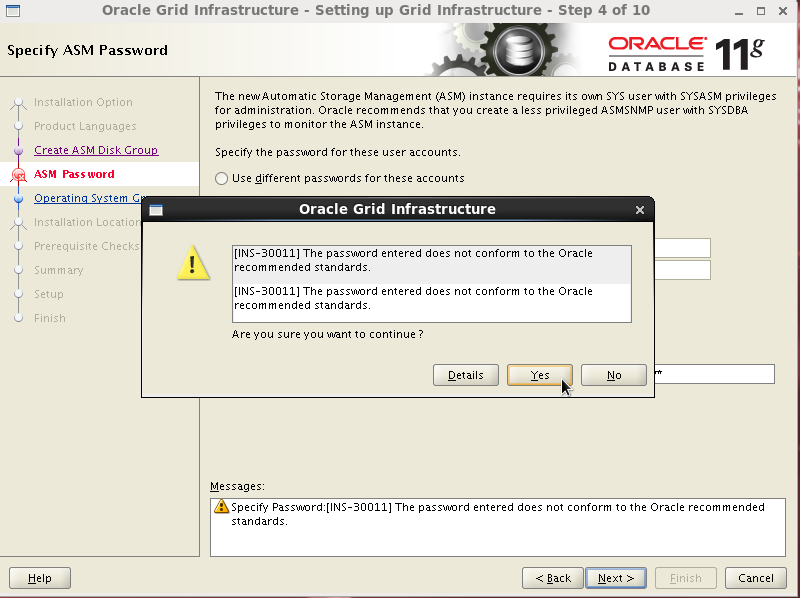
ちょっと弱いパスワードだと起こられちゃいますが、気にしないならYesを選択
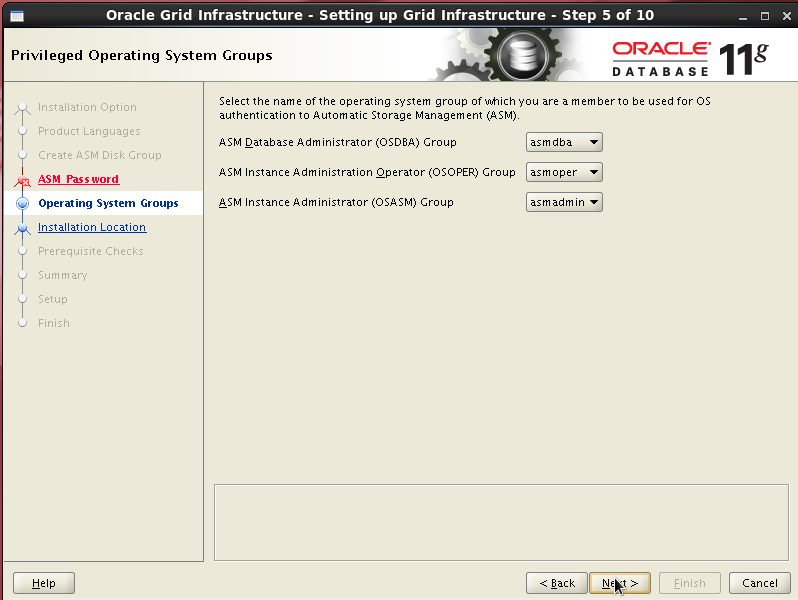
ASMの管理権限をそれぞれOSユーザに割りあてる。
OSDBA group : asmdba
OSOPE group : asmoper
OSASM group : asmadmin
を選択する。
Oracleベースとソフトウェアのインストール場所を指定する。
Oracle Baseに/opt/oracle/app
Software Locationに/opt/oracle/app/product/11.2.0/grid
を入力

Oracleインストールのインベントリ・データを格納するディレクトリを指定。
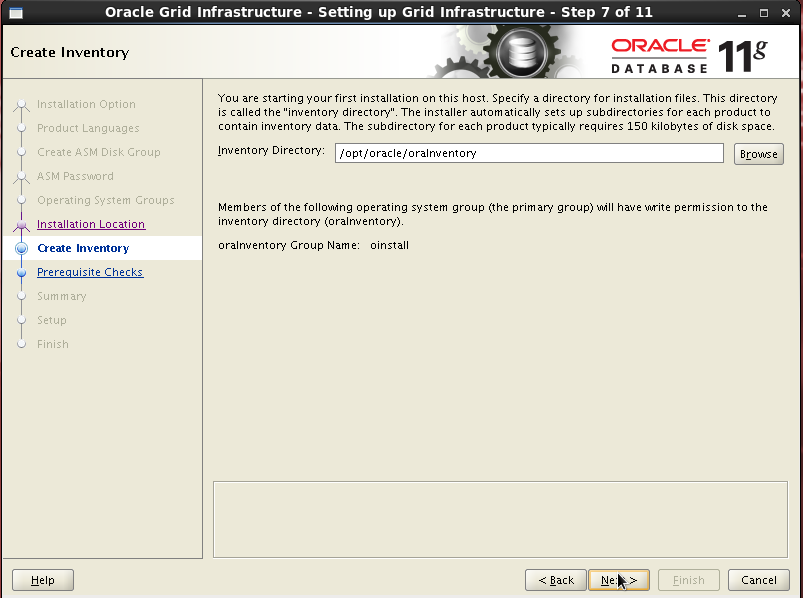
インストール項目を確認して問題なければFinishしてインストールを開始します。
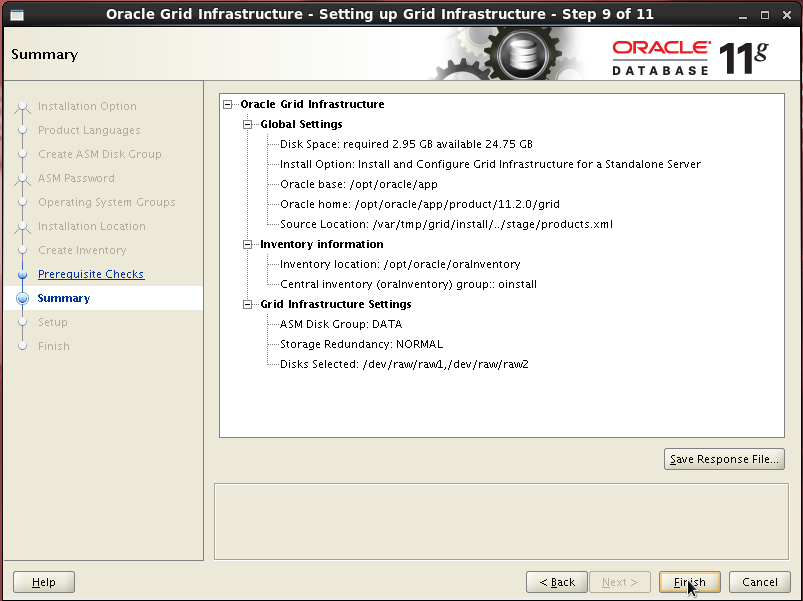
now installing….
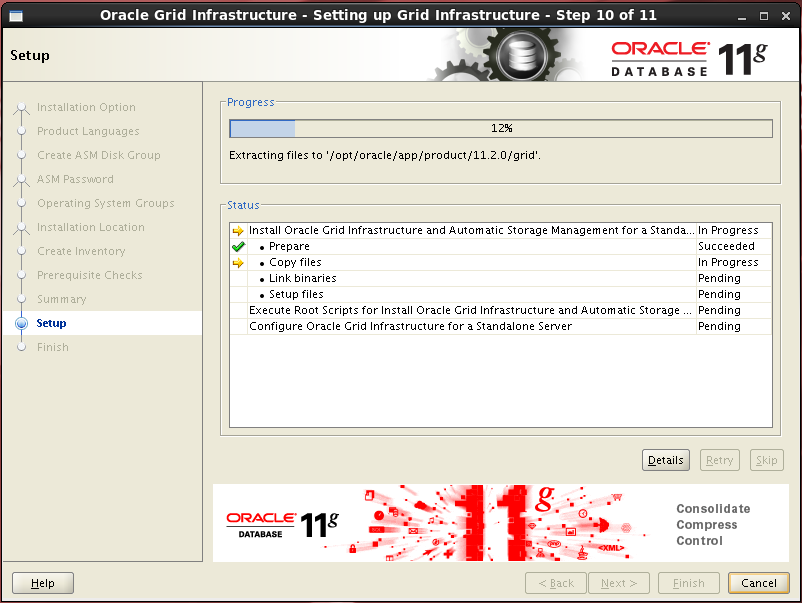
あるていどインストールが進むとrootで以下の2つのスクリプトを実行しろといわれる。
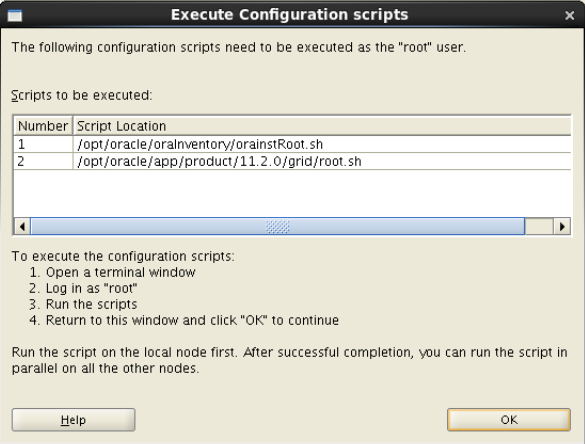
とりあえず1個目のスクリプトを実行。
# /opt/oracle/oraInventory/orainstRoot.sh
問題は2個目のroot.shのスクリプト。
こいつがなかなかのくせもので、このまま実行しても、インストール途中でこける。
詳細は前回に書いたのでそちらの記事参照。
【Oracle】Oracle Enterprise Linux 6.2にGridを入れた時にこけたときの解決策
というわけでスムーズにインストールがすすむようにrootで細工を行う。
# ln -s /lib64/libcap.so.2.16 /lib64/libcap.so.1
# /bin/dd if=/var/tmp/.oracle/npohasd of=/dev/null bs=1024 count=1 &
細工が完了した所で、root.shを実行する。
# /opt/oracle/app/product/11.2.0/grid/root.sh
無事実行できたら、仕込みを再起動しても行えるように再度スクリプトを細工。
/etc/init.d/ohasdを以下のように編集してください。
無事難所であるroot.shをインストールできたら再度GUIに戻ってOKを押下し、インストールを進める。
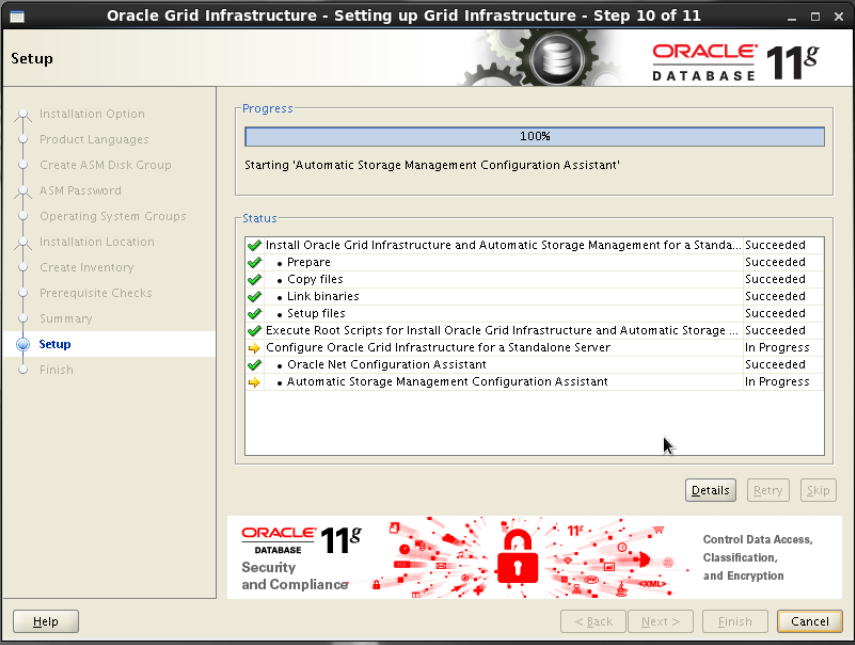
無事インストール終了。
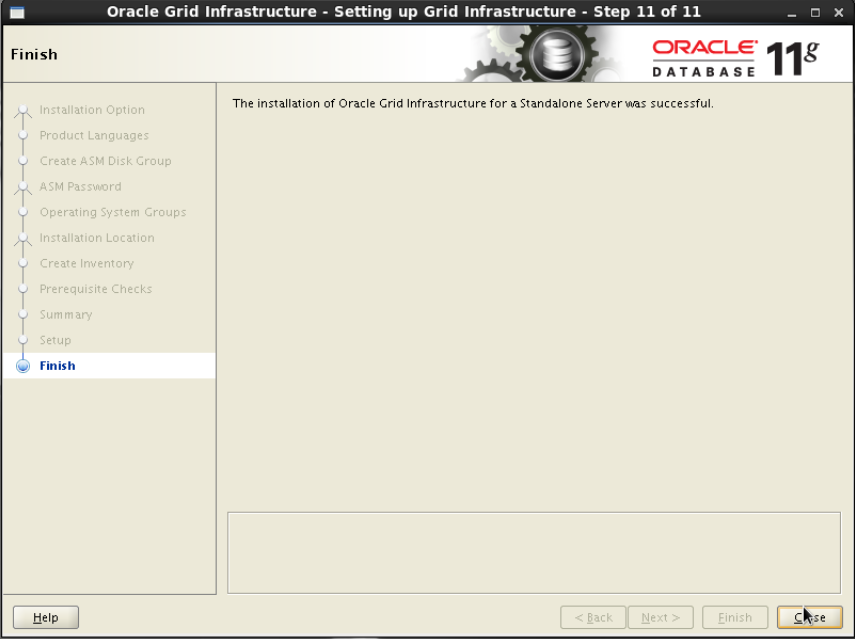
Oracleのインストール
grid infrastructureが入った所でようやくOracleを入れ込み始めます。
入れる途中で権限問題でこけるとおもうのでrootで以下を実行しておく。
# chmod 775 /opt/oracle/app
落としてきたものを解凍してOUIを起動する。
こっからはoracleユーザーで実行する。
$ unzip linux.x64_11gR2_database_1of2.zip
$ unzip linux.x64_11gR2_database_2of2.zip
$ cd database
$ ./runInstaller
最初の画面。特に何も入れない。
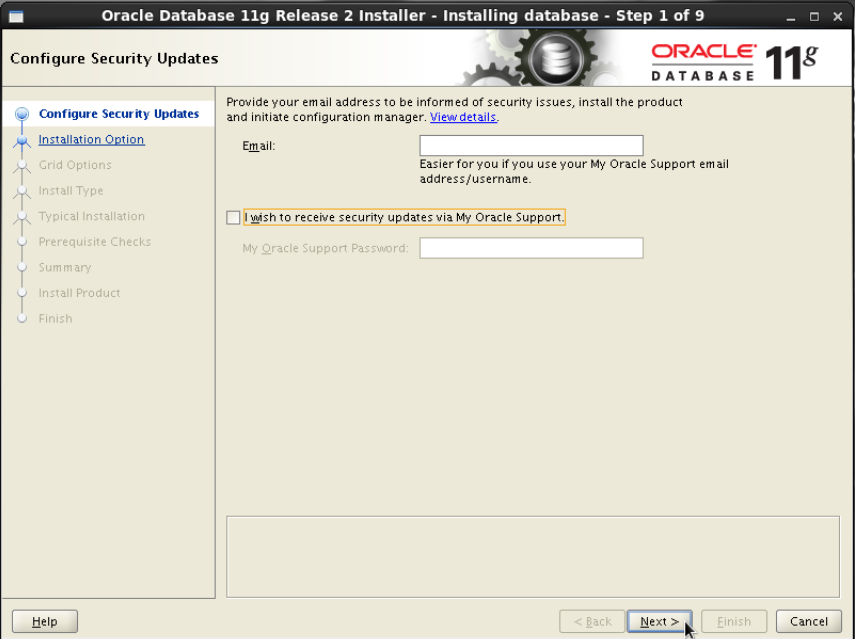
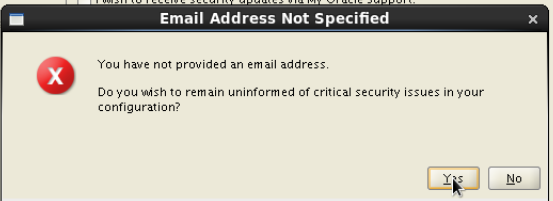
Emailいれないとセキュリティ問題がどうこうとかいわれるけど知ったこっちゃない。
断固としていれない。
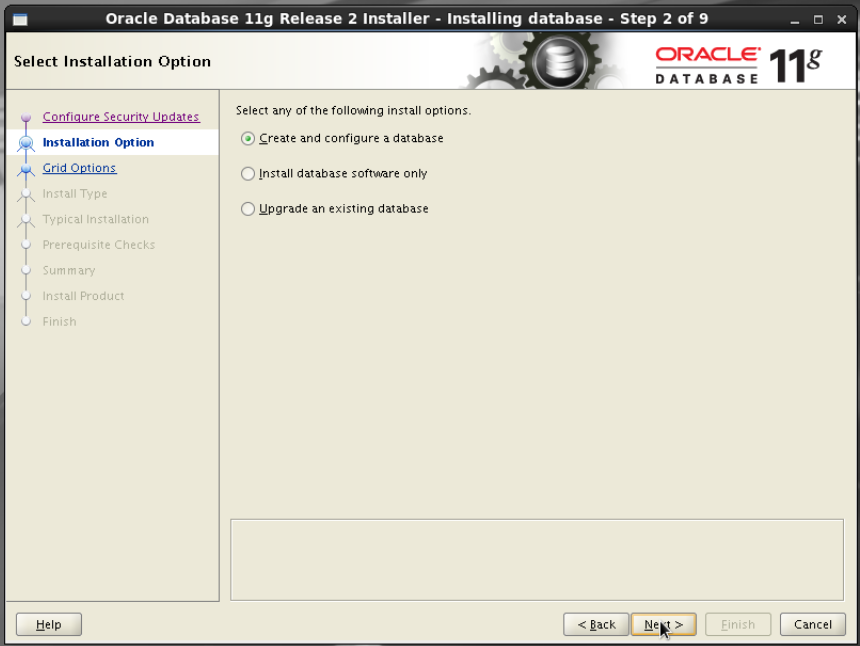
「Create and configure a database」を選択。
oracleのインストールだけやってdbcaとか使わずDB作るぜっていう人なら「Install database software only」を選択すればおk
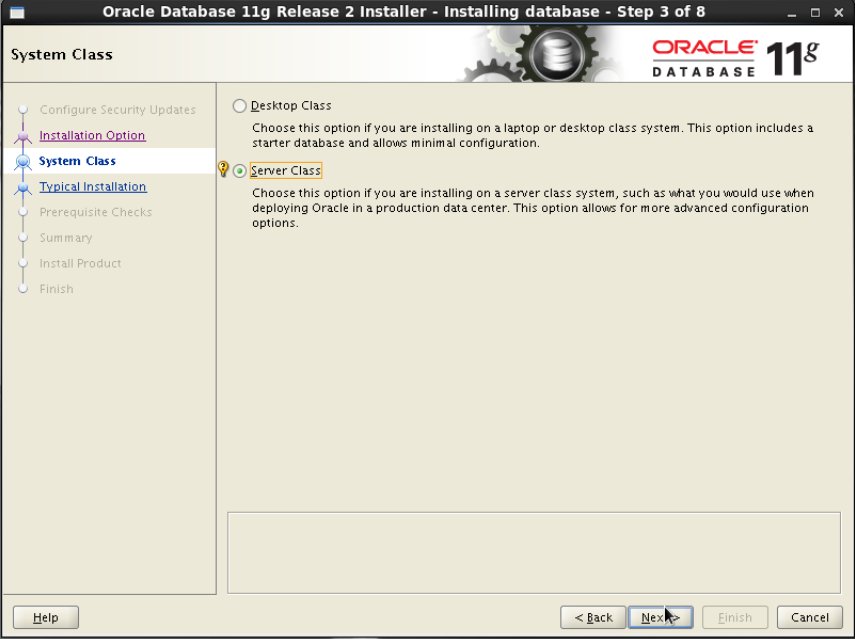
ASMを利用するので「Server Class」を選択。
「Desktop Class」だとファイルシステムに自動的にインストールするのでASMを利用する場合は選ばない。
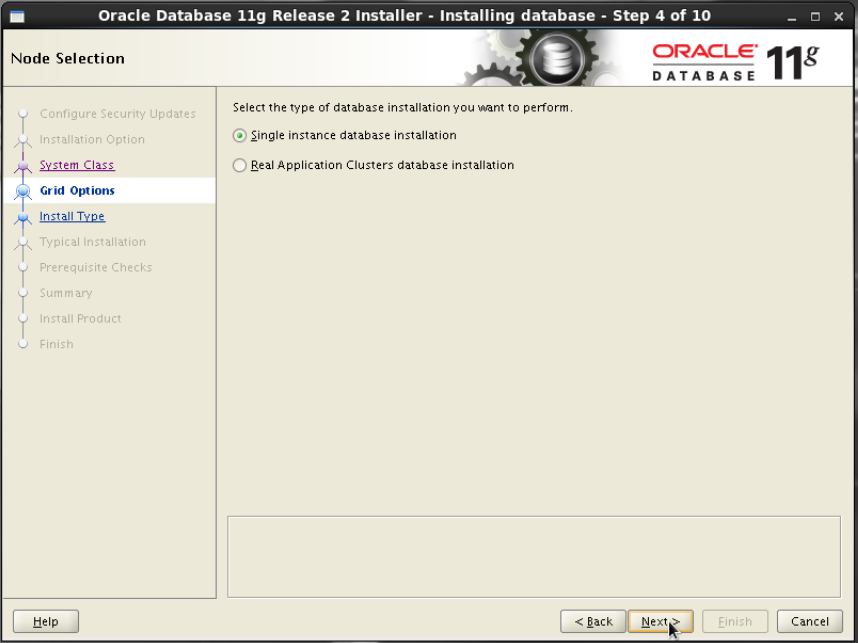
今回はRACは組みません。
「Single Instance database installation」を選択。
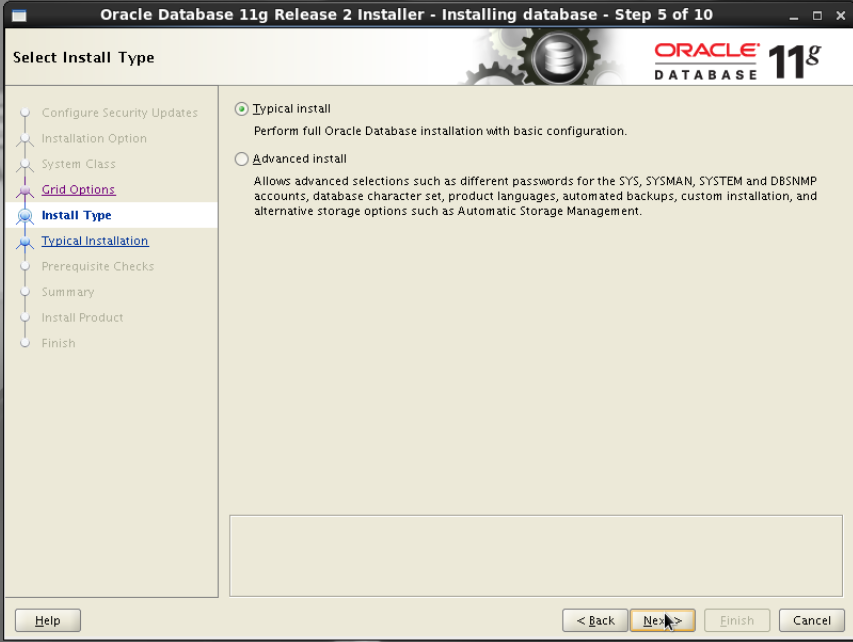
詳細にオプションをいじりたいなら「Advanced Install」を選択すればいいが、
今回は面倒くさいので「Typical Install」を選択。
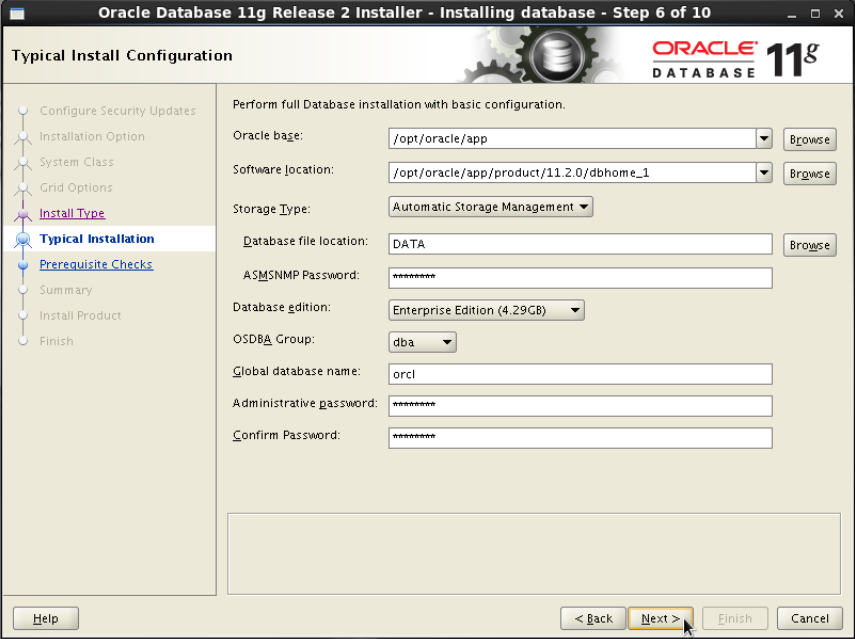
Oracle base : /opt/oracle/app
Software location : /opt/oracle/app/product/11.2.0/dbhome_1 (oracleのインストール場所。いわゆるORACLE_HOME)
Storage Type : Automatic Storage Management
Database file location : DATA (ASMがきちんと構成されていればDATAが選択できるはず)
ASMSNMP Password : gridインストール設定時のパスワードを入力
Database eddition : Enterprise Edition
OSDBA Group : dba
Global database name : orcl
Administrative password / Confirm Password : 管理用に必要なパスワード。好きなのをどうぞ。
途中で以下のようなUnable to create directoryと怒られたらDetailsをみて対象箇所を確認してグループを変えてあげる。

変えたあとに再度インストール再開。
# chmod 775 怒られたディレクトリ
例:chmod 775 /opt/oracle/app/product/11.2.0
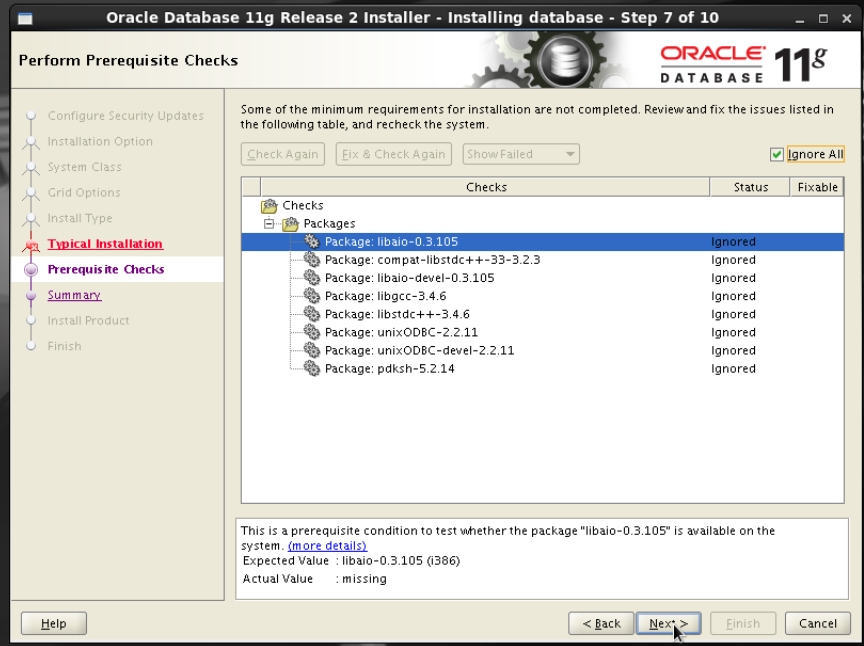
冒頭にいれたが、おそらくパッケージがそれでも足りないと怒られると思う。
でもこれ全部i386のパッケージ(32bit)で入れるにはOracle Linux 5のリポジトリからひっぱてこにゃいけないのだが、
冒頭でも言ったとおり競合して入れることができないので32bit版はスルーすることにする。
11.2.0.2.0のバージョンだと64bitだけで十分になるらしいんだけどね。
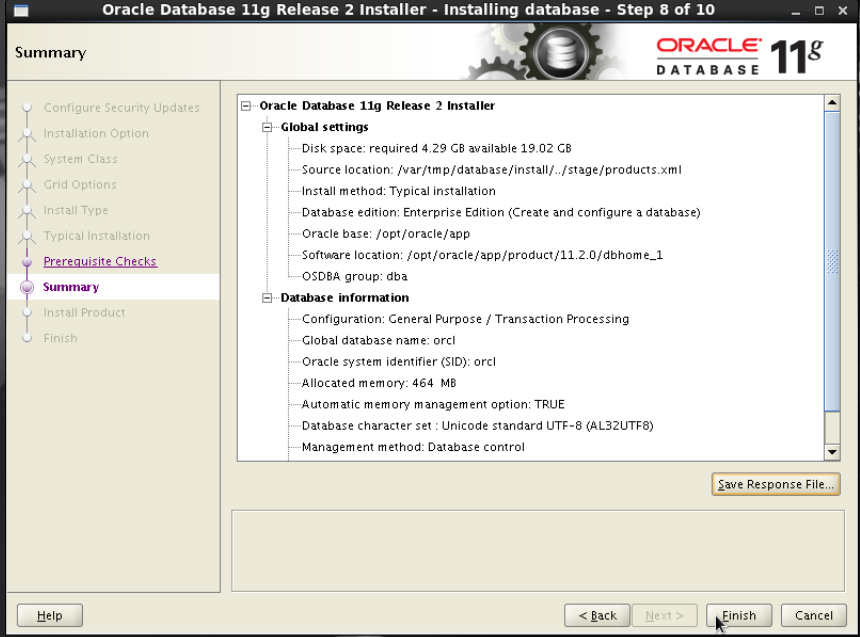
インストール事項の確認
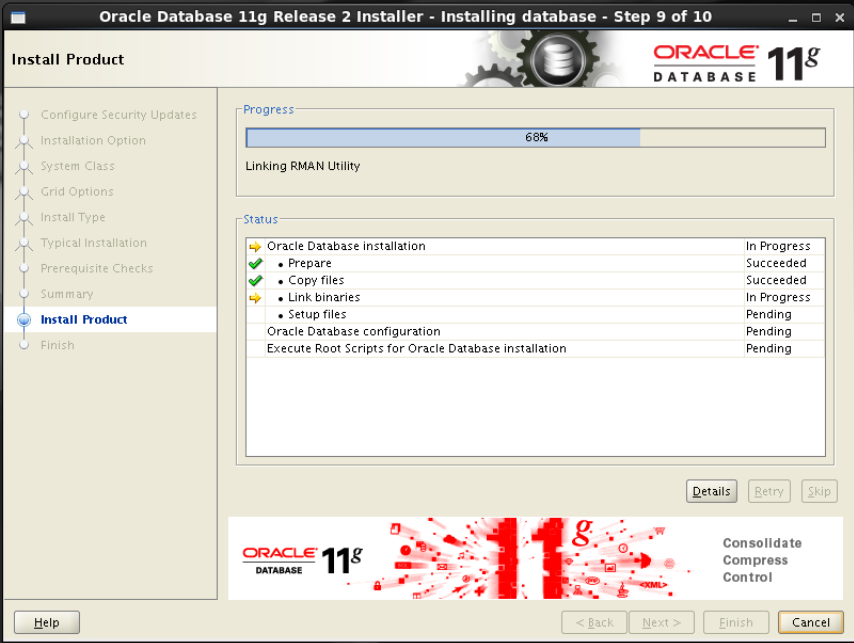
now installing…
エラーが出てログを見ろといわれる
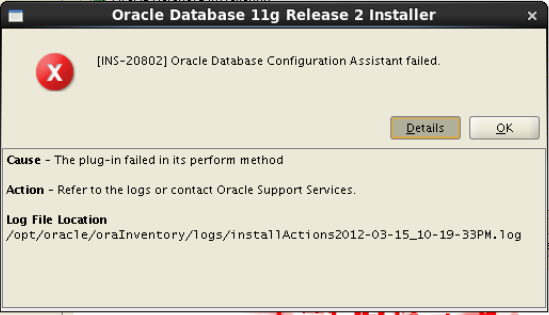
ログをみると以下のエラーが出ている
Cannot create directory
/opt/oracle/app/cfgtoollogs/dbca/orcl
といわれたので以下を実行
# chmod 775 cfgtoollogs/
もっかいやったら/opt/oracle/app/cfgtoollogs/dbca/orcl/がつくれないっていわれた。
# chmod 775 /opt/oracle/app/cfgtoollogs/dbca/orcl/
同じようにもういっちょ。
dbcaの終了
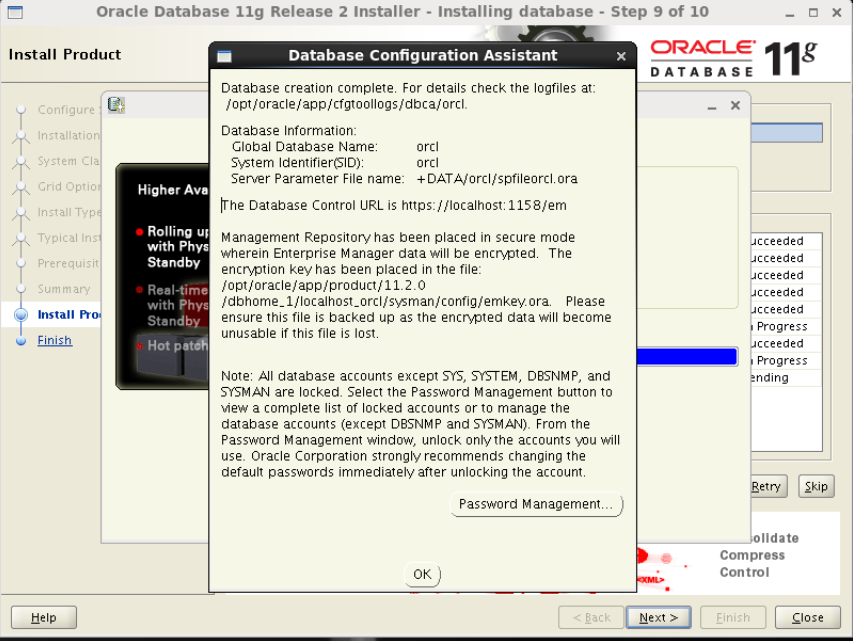
roo.shを実行しろといわれるのでrootで実行する
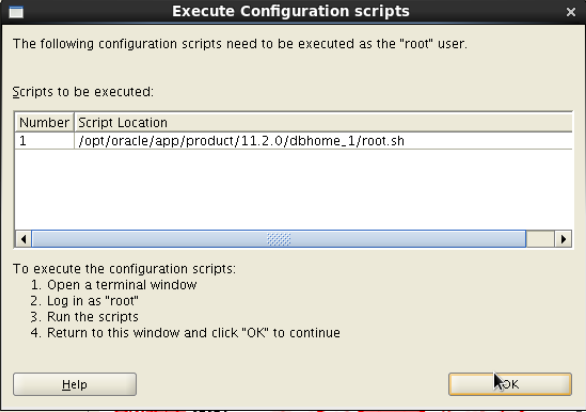
# /opt/oracle/app/product/11.2.0/dbhome_1/root.sh
Running Oracle 11g root.sh script…
The following environment variables are set as:
ORACLE_OWNER= oracle
ORACLE_HOME= /opt/oracle/app/product/11.2.0/dbhome_1
Enter the full pathname of the local bin directory: [/usr/local/bin]:
The file “dbhome” already exists in /usr/local/bin. Overwrite it? (y/n)
[n]:
The file “oraenv” already exists in /usr/local/bin. Overwrite it? (y/n)
[n]:
The file “coraenv” already exists in /usr/local/bin. Overwrite it? (y/n)
[n]:
Entries will be added to the /etc/oratab file as needed by
Database Configuration Assistant when a database is created
Finished running generic part of root.sh script.
Now product-specific root actions will be performed.
Finished product-specific root actions.
インストールできました。
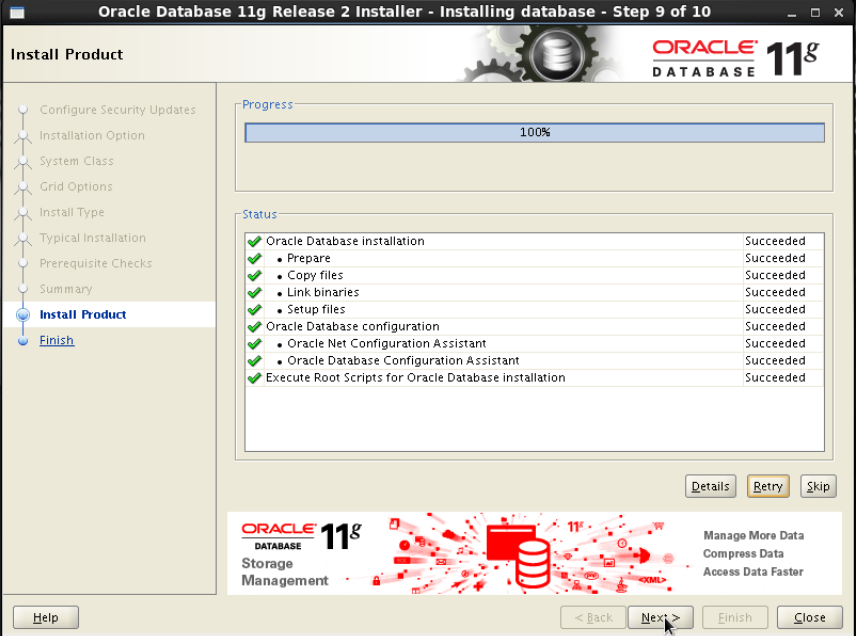
完了画面。EM使うなら表記されたURLにアクセスする。
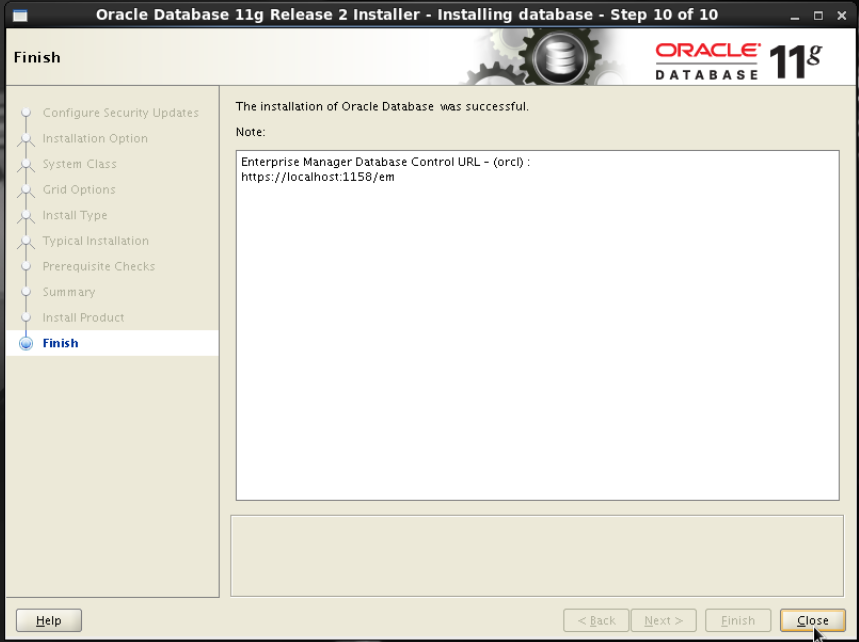
Enterprise Managerを使う
しかしEMを使うには、外からだとアクセスできない。
毎回ログインしなければ見れないってのは面倒なので、FWをちょいちょいといじる。
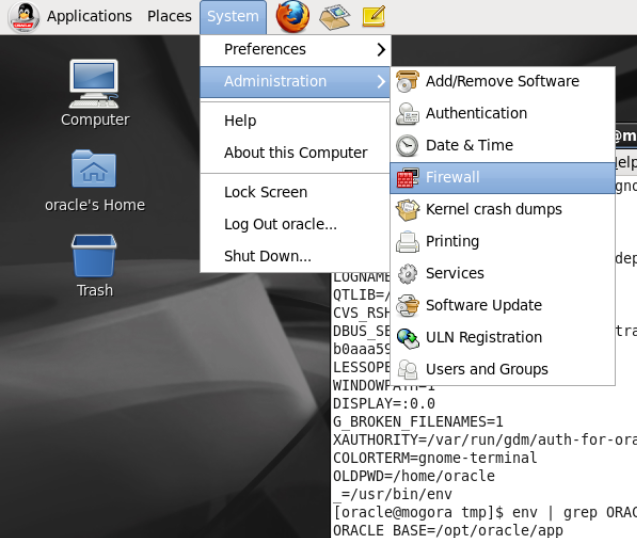
「System」->「Administration」->「Firewall」でFWを開く。
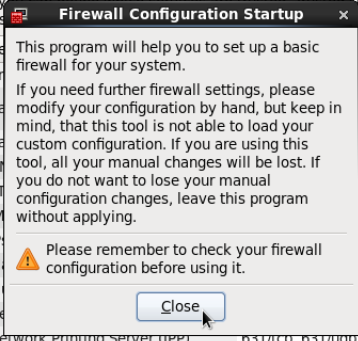
手動で設定したのは消されるよーといわれる。
そんなのせっていしてないので「Close」しておkおk
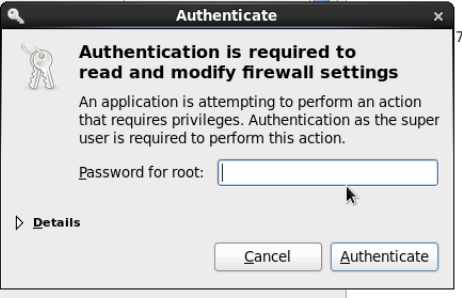
設定変更のためルートパスをいれる。
設定が面倒くさいのでFWなんて「Disable」にして「Apply」すると、危ないよと怒られるけどしったことねー!「Yes」「Yes」!!
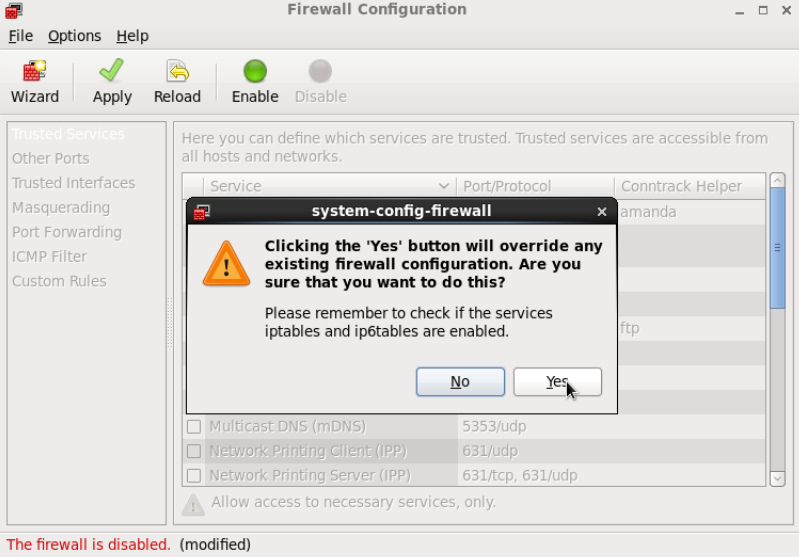
これで外からつながるようになる。
自由自在に扱ってください。
インストールまで長かった。。。
解説も長かった・・・
ちかれたちかれた。

